
The Room-by-Room Decor Refresh Checklist
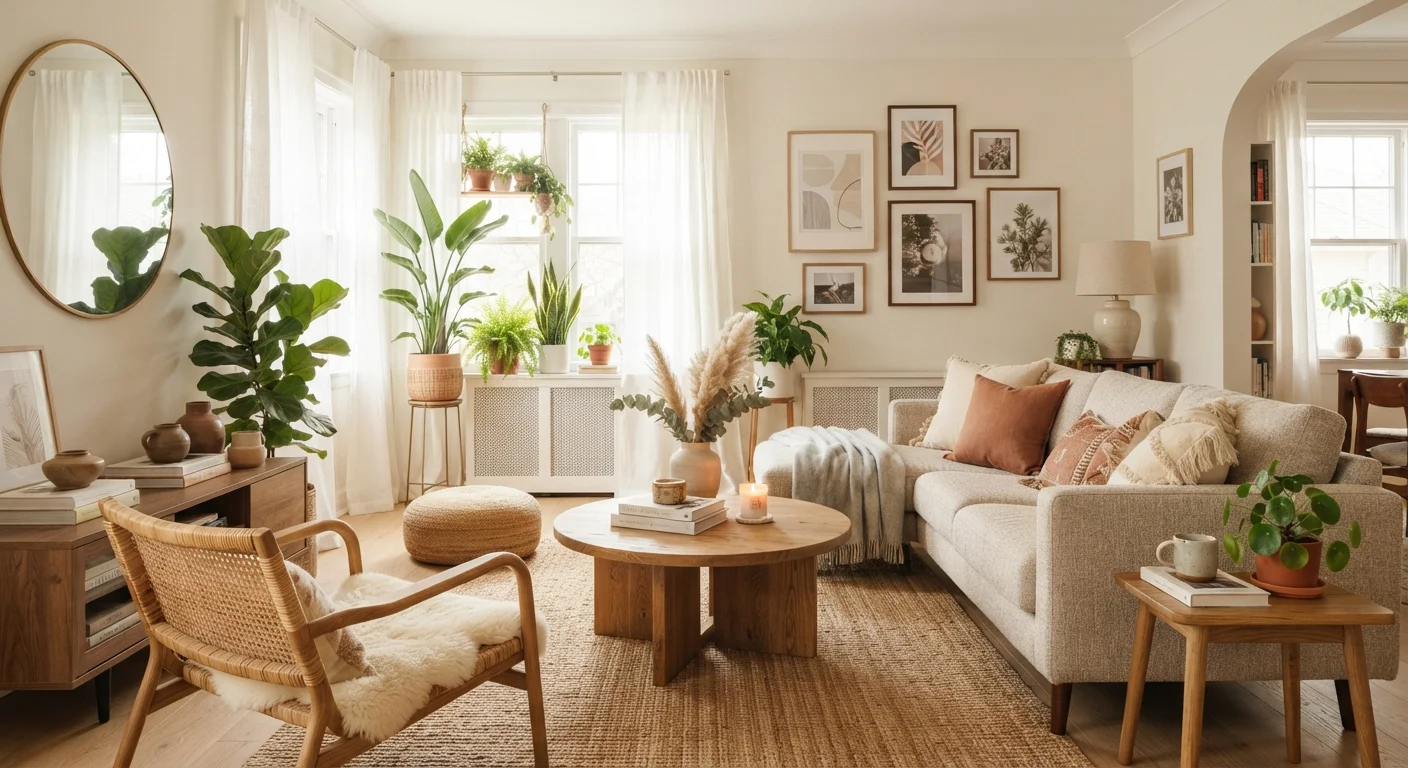
Photo credit: InGlimpse.com | Where Curiosity Finds Answers
In this article
Use this checklist to audit each room in your home and identify the small, low-effort changes that make the biggest visual difference.
Key Takeaways
- A room-by-room audit helps you identify low-effort changes with high visual impact before spending any money.
- Lighting, clutter, and scale are the three most commonly overlooked factors in a stale room.
- Most meaningful decor improvements don't require painting walls or buying new furniture.
- Consistent use of color, texture, or a repeated motif ties rooms together as a cohesive home.
- Renters and owners alike can apply this checklist — most items require no permanent changes.
Why a Structured Audit Beats Impulse Decorating
Most decor fatigue — that nagging sense that a room isn't working — stems from a handful of fixable issues: scale mismatches, poor lighting, surface clutter, or a lack of visual cohesion between rooms. The problem is that impulse purchases rarely solve structural issues. A new throw pillow won't fix a sofa pushed awkwardly against the wrong wall.
This checklist gives you a room-by-room framework to diagnose what's actually off before deciding what to change. It's organized to move from whole-home strategy down to room-specific details, which helps you avoid the common trap of decorating each space as though it exists in isolation. For a deeper look at why that matters, see our piece on why decorating rooms in isolation backfires.
The audit also surfaces the changes with the highest return on effort — often things that cost nothing. Lighting adjustments, furniture repositioning, and decluttering consistently produce more visible improvement than adding new accessories.
Audit First, Spend Second
A common mistake is shopping for new decor before assessing what's already in the home. Many refresh wins come from rearranging, removing, or relocating existing pieces rather than buying anything new. Complete the full walk-through and photography step before adding anything to a cart.
Tools You'll Need
Before walking through the checklist, gather a few practical items. None of these require any purchase if you already own them — the goal is to observe and document, not to redecorate on day one.
Smartphone camera
Photograph each room before and after to objectively compare the visual impact of changes.
Measuring tape
Confirm rug sizes, furniture clearances, curtain drop lengths, and wall art placement before buying or repositioning.
Notepad or note-taking app
Record observations, priority rankings, and shopping or swap notes room by room.
Painter's tape
Mock up artwork layouts and furniture footprints on the floor or wall before committing to placement.
Color swatch cards
Test potential accent colors against existing furnishings and natural light before purchasing paint or accessories.
If you're working on a smaller space and want strategies specifically for maximizing visual impact in tighter rooms, our guide on decorating a small living room without losing space covers scale, furniture placement, and storage approaches that apply broadly.
The Room-by-Room Checklist
Work through each group in order. The Whole-Home Prep group is not optional — skipping it tends to result in changes that look fine in isolation but feel inconsistent across the home. Pay attention to the priority labels: must items address the highest-impact issues, while nice_to_have items are genuine enhancements rather than necessities.
For each room, refer back to your entry-point photograph as a reference. It's easier to spot what's off in a photo than in person, where familiarity makes problems invisible.
Before You Start: Whole-Home Prep
Living Room
Bedroom
Kitchen & Dining Area
Bathroom
Hallways & Entry
Final Review
Lighting deserves special attention in every room. If a space consistently feels flat or uninviting, the issue is often the light source rather than the furnishings. Our article on how natural and artificial light shape the feel of a room explains how to evaluate and improve both. Similarly, if you're considering a statement wall treatment, accent wall options decoded can help you weigh the effort and visual payoff of different approaches.
Renters: Check Before You Change
Some decor changes — patching walls, swapping fixtures, or applying peel-and-stick wallpaper — may affect your security deposit depending on your lease terms. Review your rental agreement or ask your landlord before making any changes that alter surfaces. For renter-safe strategies, see renter-friendly decorating options.
Don't Redecorate Every Room in Isolation
Refreshing rooms one at a time without a shared visual thread often produces a disjointed home. Before you start, agree on at least one element — a color, a material, a recurring motif — that will appear in multiple spaces. This is a common pitfall explained in more detail in our article on why decorating rooms in isolation backfires.
Turning Observations Into Next Steps
Once you've completed the audit, you should have a clear picture of what's working, what's disjointed, and where a single targeted change would make the most difference. Organize your findings into three buckets: changes you can make today for free, low-cost swaps under a defined threshold, and larger investments to plan for later.
If walls feel bare, our guide on planning a gallery wall before you hammer walks through layout and spacing decisions. If rooms feel visually heavy or lopsided even after decluttering, the visual weight principle explains why that happens and how to correct it. And if you want to understand how color, pattern, and texture interact before making any purchases, color, pattern, and texture as decorating levers is a useful foundation.
A thoughtful audit done once can prevent years of reactive, unfocused spending. The checklist above gives you a repeatable structure you can revisit whenever a space starts to feel stale again.

Author
Home Editorial Team
Home Editorial Team is the collective byline for our editorial team and contributor network. Articles published under this byline or an editorial pen name are researched, written, and reviewed according to our editorial standards for clarity, consistency, and independence before publication.
View all articles →