
Dryer Venting: The Safety and Efficiency Details Most Homeowners Overlook
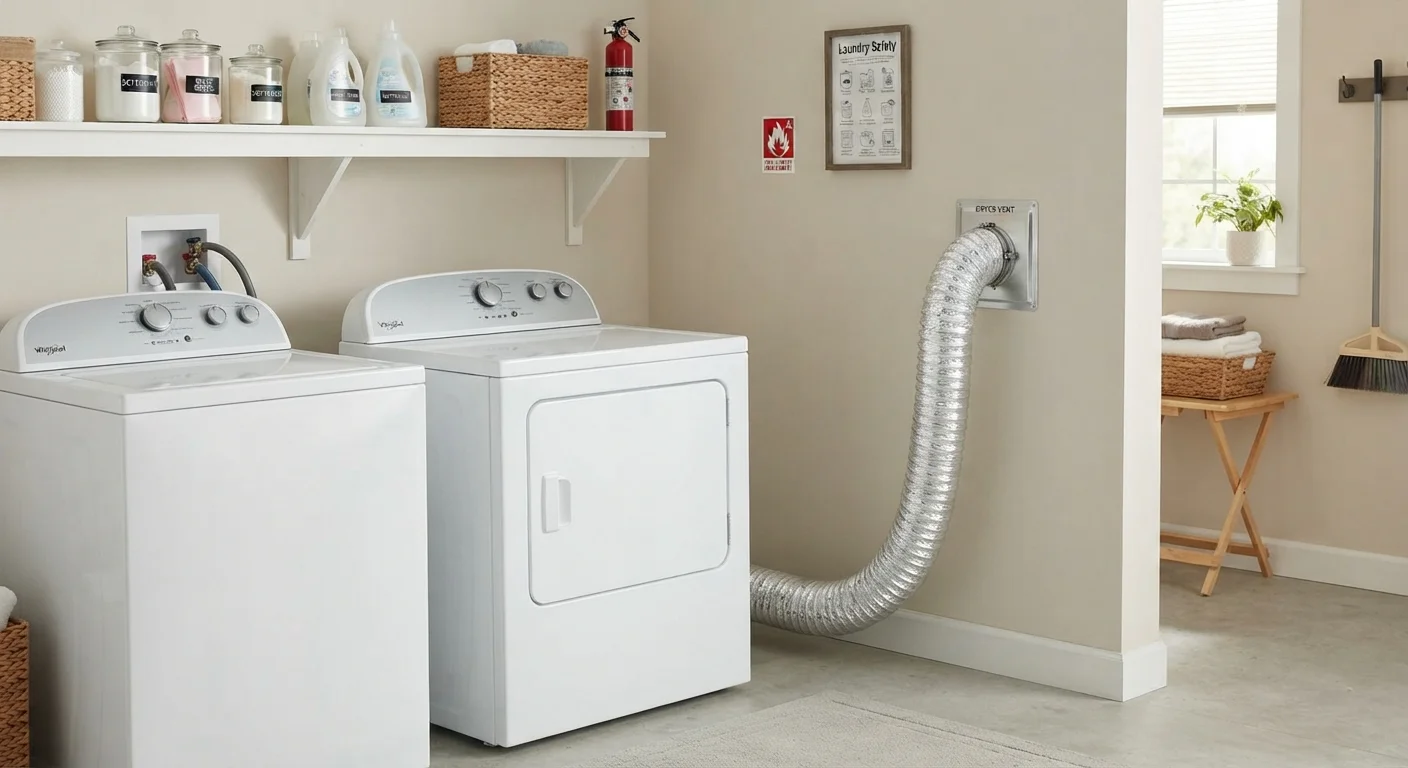
Photo credit: InGlimpse.com | Where Curiosity Finds Answers
In this article
Improper dryer venting is a leading cause of household fires. Understand vent length limits, material choices, and when to call a professional.
Key Takeaways
- Dryer fires are most commonly caused by lint buildup in vents — regular cleaning is essential.
- Rigid or semi-rigid metal ducting is the only material recommended for dryer vents; plastic and foil accordion ducts are fire hazards.
- Most dryer manufacturers limit total vent run length to 25 feet, reduced for each elbow added.
- Vent terminations must exit to the outside — never into attics, crawl spaces, or walls.
- Any vent work involving structural wall penetration should be handled by a licensed professional.
Why Dryer Venting Gets Overlooked — and Why That's Risky
Most homeowners clean the lint trap after every load, which is good practice. But the lint trap only captures a portion of what the dryer produces. The rest moves through the exhaust duct, and over time it coats the interior of the duct run. The result is reduced airflow, longer drying cycles, higher energy use, and — in the worst cases — a fire inside the duct itself.
Dryer venting is also an area where installation shortcuts are common. Plastic flex duct is inexpensive and easy to work with, so it turns up in homes where it should never have been installed. Runs that are too long, or that make too many turns, choke airflow even when the duct is clean. These are details that often aren't caught until something goes wrong.
Understanding the requirements — material type, run length limits, termination rules — puts you in a position to identify a problem before it becomes a hazard. For broader context on how proper installation affects appliance performance, see our guide on appliance shopping myths that often carry into installation decisions.
Dryer Venting Is a Fire Safety Issue
According to the U.S. Fire Administration, clothes dryers are responsible for thousands of residential fires each year, with failure to clean the vent being the leading contributing factor. Blocked or improperly routed ducts trap heat and allow lint — a highly combustible material — to accumulate. Never treat dryer venting as a minor installation detail.
What You'll Need Before You Start
Before inspecting or replacing any duct work, gather the right materials and confirm you understand your layout. Improper materials are one of the most common sources of dryer vent hazards, so it's worth verifying before purchasing anything.
What you will need
Rigid metal duct (4-inch diameter)
The preferred ducting material — smooth interior reduces lint accumulation and resists heat.
Semi-rigid aluminum transition duct
Used for the short flexible connection between the dryer and rigid duct run where rigid pipe cannot fit.
Duct tape (foil-backed, UL-listed)
Seals duct joints securely; standard cloth duct tape degrades with heat and should not be used.
Dryer duct cleaning brush kit
Long flexible brush rods used to remove lint buildup from inside the duct run.
Tape measure
Used to calculate total duct run length and verify it stays within manufacturer limits.
Exterior vent cap with damper
Prevents pests and backdrafts while allowing exhaust air to exit freely.
If you're unsure which duct diameter your dryer requires, check the label on the back panel of the appliance or the installation manual. Most residential dryers use a 4-inch exhaust port, but confirm before purchasing duct materials.
Step-by-Step: Inspecting and Correcting Your Dryer Vent
Identify your existing duct material
Pull the dryer away from the wall and examine the duct connected to the exhaust port. Plastic flex duct (white or gray vinyl) and thin foil accordion duct are both fire hazards and should be replaced immediately. Only rigid galvanized steel or semi-rigid aluminum ducting is appropriate. Rigid metal has the smoothest interior and is preferred for long runs.
Measure the total duct run length
Measure the full distance from the dryer's exhaust port to the exterior termination point. Most manufacturers set a maximum equivalent length of 25 feet. Each 90-degree elbow typically reduces this allowance by 5 feet, and each 45-degree elbow by 2.5 feet. For example, a 25-foot maximum with two 90-degree elbows leaves only 15 feet of straight run. Consult your specific manual — limits vary by model.
Inspect and clean the duct interior
Disconnect the duct at both ends and use a dryer duct cleaning brush kit to push through the entire run, section by section. Remove all lint from inside the duct, at the exterior cap, and from the dryer's exhaust port itself. Lint accumulation is cumulative — even a partial blockage increases drying times and heat buildup. Aim to clean the full run at least once per year, or more frequently if you do several loads per week.
Reconnect and seal all duct joints
Reassemble duct sections so that each joint overlaps in the direction of airflow — downstream sections slip over upstream ones. Secure every joint with foil-backed, UL-listed metal tape, not standard cloth duct tape or sheet metal screws (screws protrude into the duct interior and snag lint). Each connection should be airtight. Leaky joints allow warm, moist air to escape into wall cavities, promoting mold growth.
Verify the exterior termination
Go outside and locate the vent cap. It should have a working damper flap that opens under airflow and closes when the dryer stops, blocking pests and cold air. Clean any lint from the cap's screen or louvers. If there is a screen mesh behind the damper, remove it — dryer exhaust codes generally prohibit screens at the termination because they catch lint and restrict airflow dangerously.
Know when to call a professional
If your duct run requires cutting through an exterior wall, reframing, or routing through finished spaces, this work typically requires a permit and a licensed contractor in most US jurisdictions. Similarly, if you find damaged, crushed, or inaccessible ducting inside walls, do not attempt DIY repairs. A qualified HVAC technician or appliance installer can assess the full run and bring it into compliance with local codes. See our guide to appliance installation safety for more on what proper setup requires.
Check the Vent Flap From Outside
While the dryer is running, step outside and confirm the exterior vent damper opens freely and warm air is exiting. If the flap barely moves or stays closed, airflow is restricted and the duct likely needs cleaning or inspection. Do this check at least once a year.
Never Vent Into Enclosed Spaces
Venting a dryer into an attic, wall cavity, crawl space, or garage may seem convenient but creates serious moisture damage and fire risk. All dryer exhaust must terminate at an exterior wall or roof cap with a proper damper. This is a code requirement in virtually all US jurisdictions.
Keeping your dryer venting in good shape also supports overall appliance efficiency. Proper airflow means shorter dry times and less wear on clothing — habits that complement good garment care practices over the long term. For additional ways to reduce how hard your appliances work, see practical approaches to reducing appliance energy use.

Author
Home Editorial Team
Home Editorial Team is the collective byline for our editorial team and contributor network. Articles published under this byline or an editorial pen name are researched, written, and reviewed according to our editorial standards for clarity, consistency, and independence before publication.
View all articles →